
# Terminal Mastery: Crafting a Productivity Environment with iTerm, tmux, and Beyond
Table of Contents
I love working on Linux terminals
Rewind a decade or so, and you’d find me ensconced within the embrace of a Linux terminal for the duration of my day. Here, amidst the digital ebb and flow, I thrived—maneuvering files and folders with finesse, weaving code in Vim, orchestrating services maintenance, decoding kernel dumps, and seamlessly transitioning across a mosaic of tmux sessions.
The graphical user interface? A distant thought, unnecessary for the tapestry of tasks at hand.
Like all geeks, every tech enthusiast harbors a unique sanctuary of productivity—a bespoke digital workshop where code flows like poetry, and ideas ignite with the spark of creativity. It’s a realm where custom tools and secret utilities interlace, forming the backbone of unparalleled efficiency and innovation.
Today, I’m pulling back the curtain to reveal the intricacies of my personal setup on Mac.
I invite you on this meticulous journey through the configuration of my Mac-based development sanctuary.
Together, let’s traverse this path, transforming the mundane into the magnificent, one command, one tool, one revelation at a time.
iTerm2
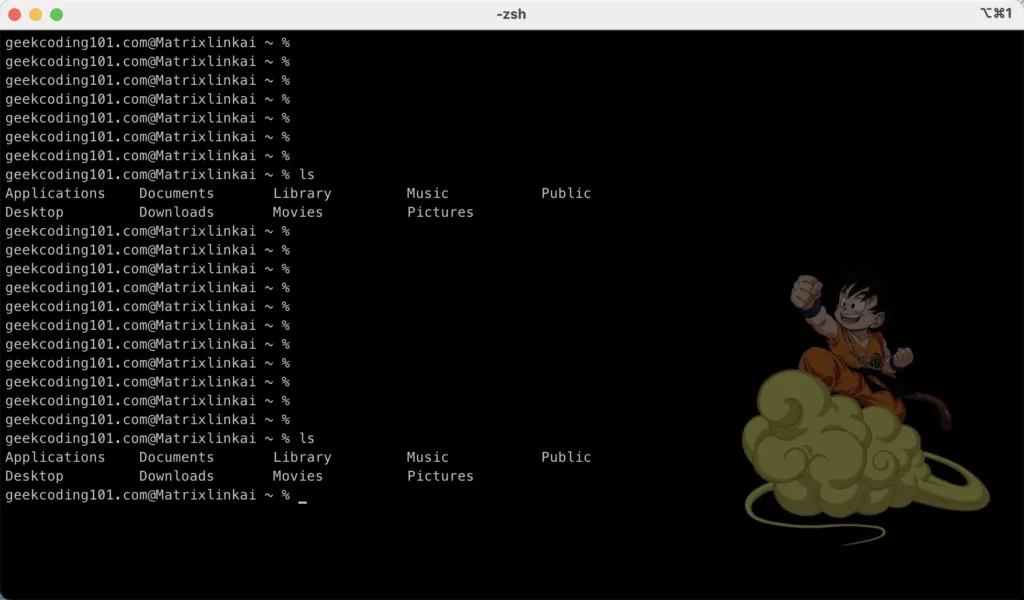
After account setup on Mac, the initial terminal looks like this when I logged in:
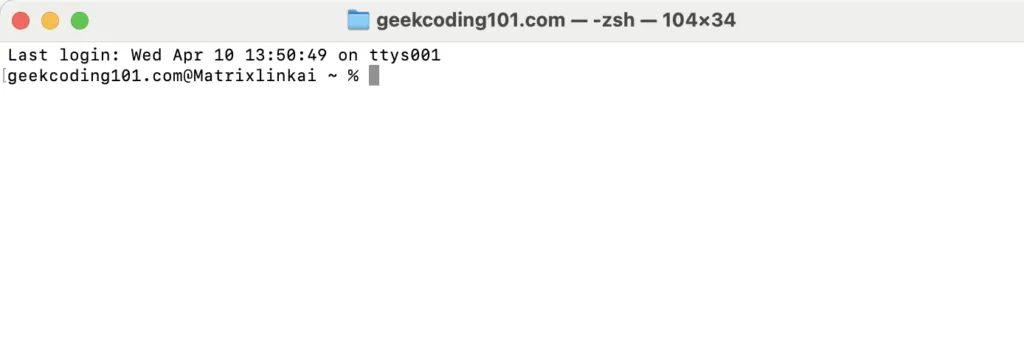

Let’s equip it with iTerm2!
What is iTerm2?
iTerm2 is a replacement for Terminal and the successor to iTerm. It works on Macs with macOS 10.14 or newer. iTerm2 brings the terminal into the modern age with features you never knew you always wanted.
Why Do I Want It?
Check out the impressive features and screenshots. If you spend a lot of time in a terminal, then you’ll appreciate all the little things that add up to a lot. It is free software and you can find the source code on Github.
How Do I Use It?
Try the FAQ or the documentation. Got problems or ideas? Report them in the bug tracker, take it to the forum, or send me email (gnachman at gmail dot com).
Go ahead to https://iterm2.com/ download it and finish installation. Open it:
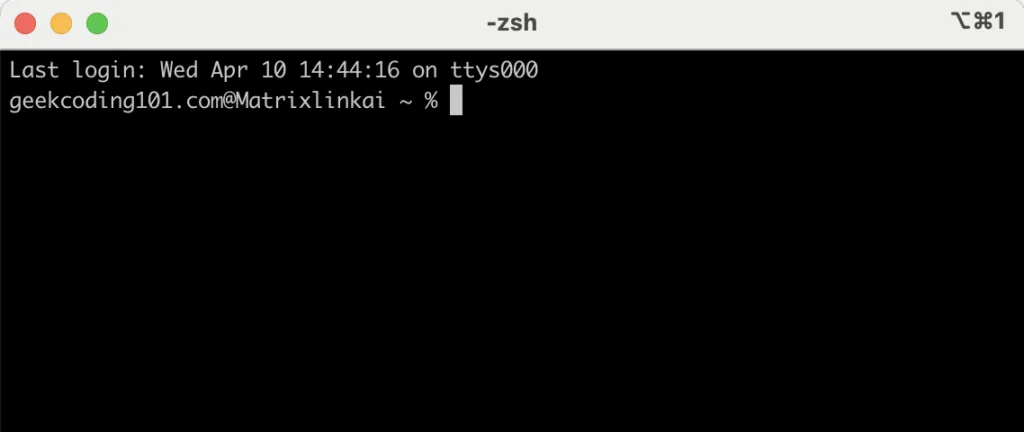
Well, still not impressive. But, now you have got all advanced features from iTerm!
This blog post is not focus on iTerm2, we can discuss later. So I am not going through those fancy features right now, please explore on the official website.
Let’s start to customize on it.
Wait, Nerd … Font
Before we jump on the customization on iTerm2, I want to introduce you Nerd Font.
It will be required and installed by https://github.com/romkatv/powerlevel10k which we will talk later.
This project aims to enhance the usability and aesthetic appeal of the development environment without sacrificing the functionality or readability of the text. The added icons can represent common actions or tools in the development workflow, allowing for a more intuitive and visually engaging interface.
By incorporating icons directly into the fonts, Nerd Fonts allows developers to use these icons across different applications and tools seamlessly, without needing to rely on external libraries or tool-specific extensions. This can simplify setup and configuration across tools and platforms, providing a consistent and enriched visual experience.
Customize iTerm2
Just follow me:

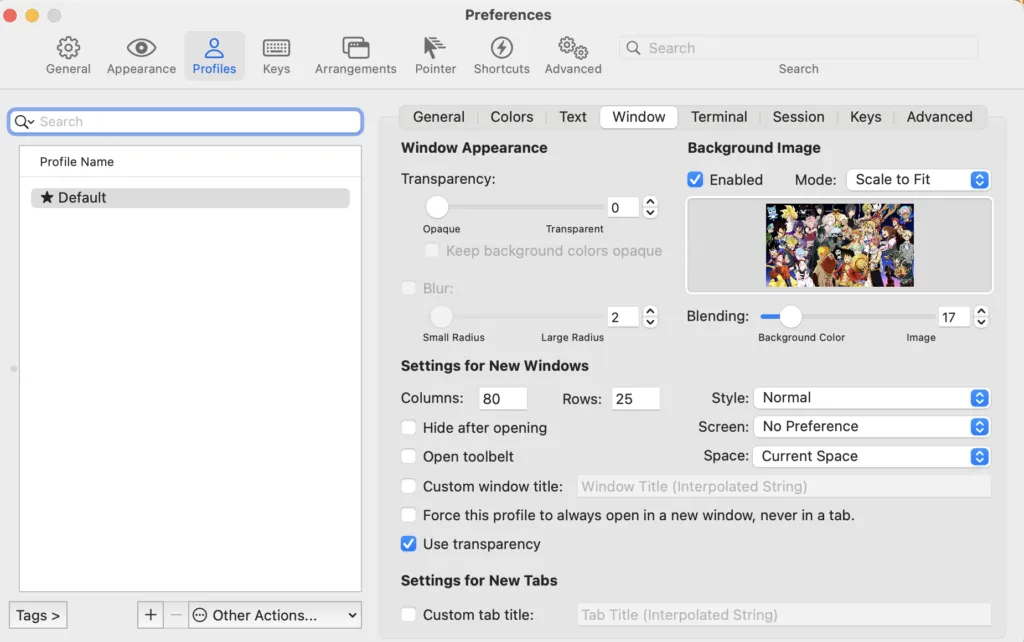
Set your favorite character as background image if you like:
Let’s compare previous and now:
|
|---|
 |
Oh-my-zsh and powerlevel10k
Install https://github.com/ohmyzsh/ohmyzsh (to manage zsh):
sh -c "$(curl -fsSL https://raw.githubusercontent.com/ohmyzsh/ohmyzsh/master/tools/install.sh)"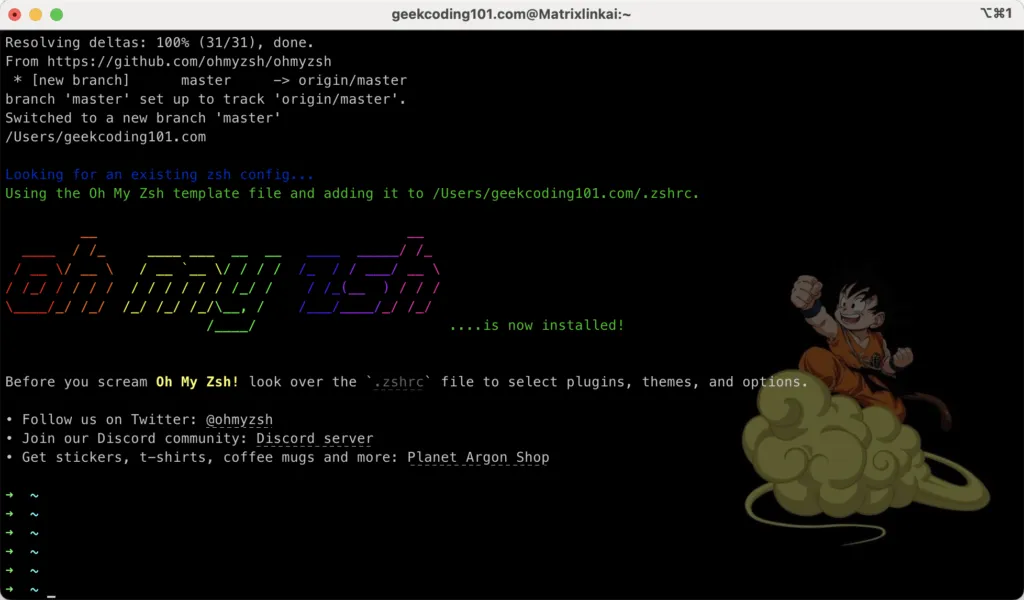
Install https://github.com/romkatv/powerlevel10k for ohmyzsh and configure it (powerlevel10k is a theme of zsh).
git clone --depth=1 https://github.com/romkatv/powerlevel10k.git ${ZSH_CUSTOM:-$HOME/.oh-my-zsh/custom}/themes/powerlevel10kSet environment:
echo "source ~/.oh-my-zsh/custom/themes/powerlevel10k/powerlevel10k.zsh-theme" >> ~/.zshrcRestart Zsh with exec zsh.
You should see:

Let’s install the fonts and follow the wizard, choose whatever you like!
Now it looks much better!

Much better, but still not meet my expectation!
Let’s begin working with our adaptable TMUX expert now!

tmux is a terminal multiplexer. It lets you switch easily between several programs in one terminal, detach them (they keep running in the background) and reattach them to a different terminal.
Tmux should have been installed by default, type tmux, you should see:
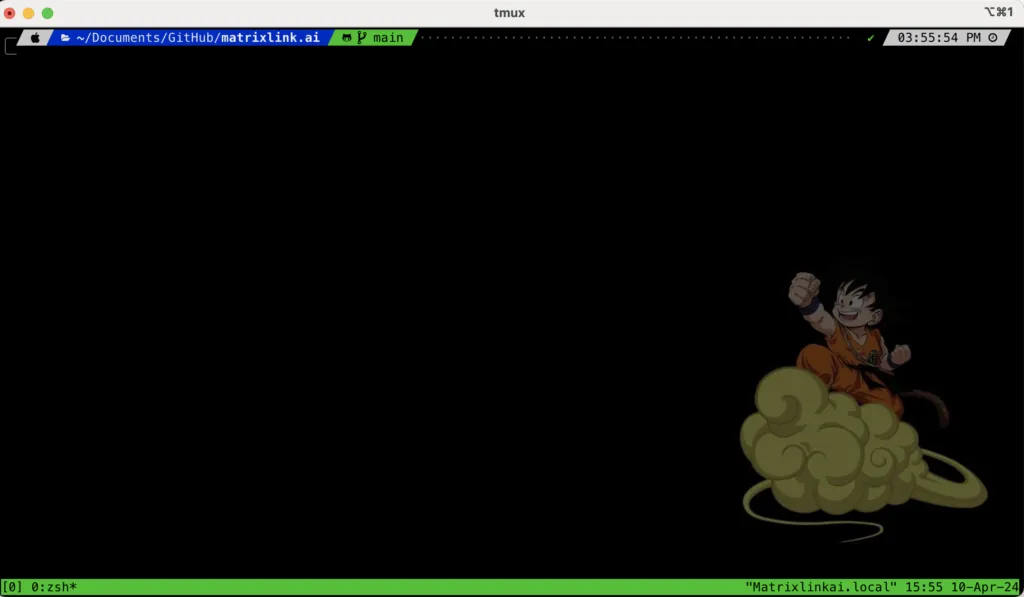
Can’t wait to customize it!
I am using https://github.com/gpakosz/.tmux.git:
It’s a Self-contained, pretty and versatile
.tmux.confconfiguration file.
cd ~rm -fr .tmuxgit clone https://github.com/gpakosz/.tmux.gitln -s -f .tmux/.tmux.confcp .tmux/.tmux.conf.local .Append below into .tmux.conf.local before the line “# -- custom variables”:
# increase history sizeset -g history-limit 9999999# start with mouse mode enabledset -g mouse on
bind-key -n C-S-Left swap-window -t -1\; select-window -t -1bind-key -n C-S-Right swap-window -t +1\; select-window -t +1
# -- custom variables ----------------------------------------------------------
I am a fan of Vi/Vim, must enable Vi mode in “~/.tmux.conf.local”:

Customize status bar:
tmux_conf_theme_status_right_fg="$tmux_conf_theme_colour_12,$tmux_conf_theme_colour_14,$tmux_conf_theme_colour_6"tmux_conf_theme_status_right_bg="$tmux_conf_theme_colour_15,$tmux_conf_theme_colour_17,$tmux_conf_theme_colour_9"
tmux_conf_theme_left_separator_main='\uE0B0'tmux_conf_theme_left_separator_sub='\uE0B1'tmux_conf_theme_right_separator_main='\uE0B2'tmux_conf_theme_right_separator_sub='\uE0B3'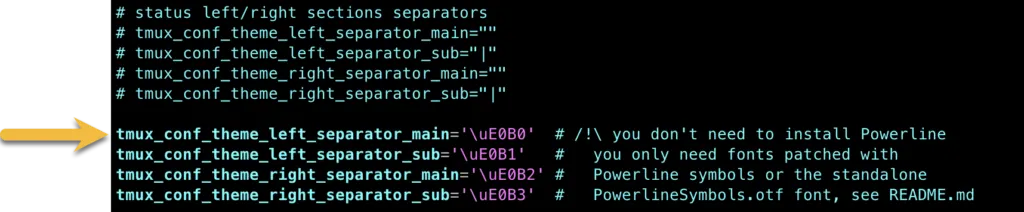
Find below lines in “~/.tmux.conf.local” and uncomment them to enable:

Set a icon for the left status:
Now reload configuration:
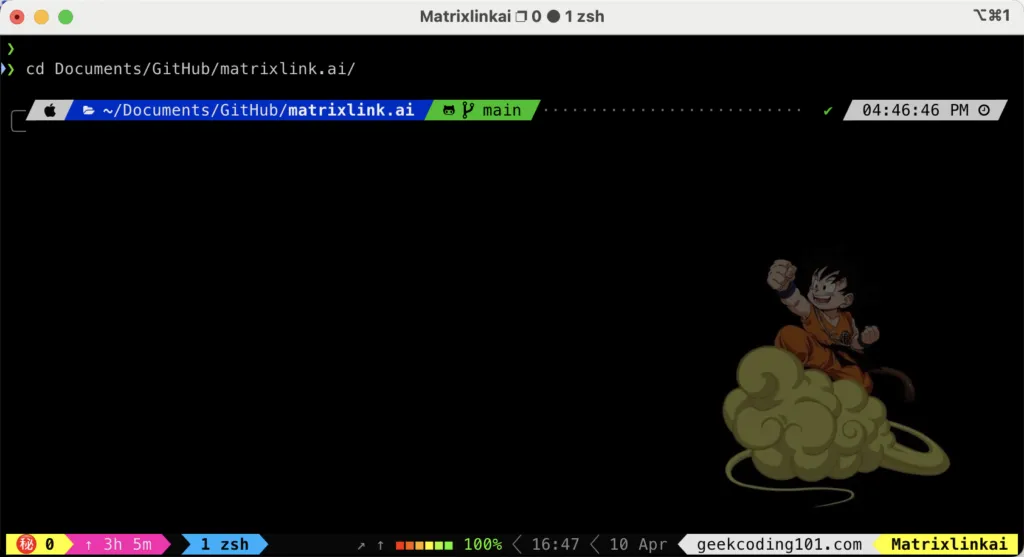
tmux source ~/.tmux.confCheck it now!
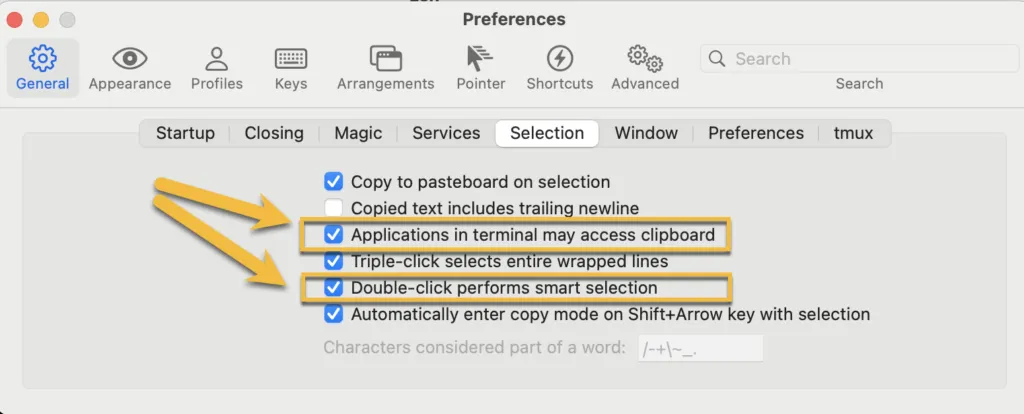
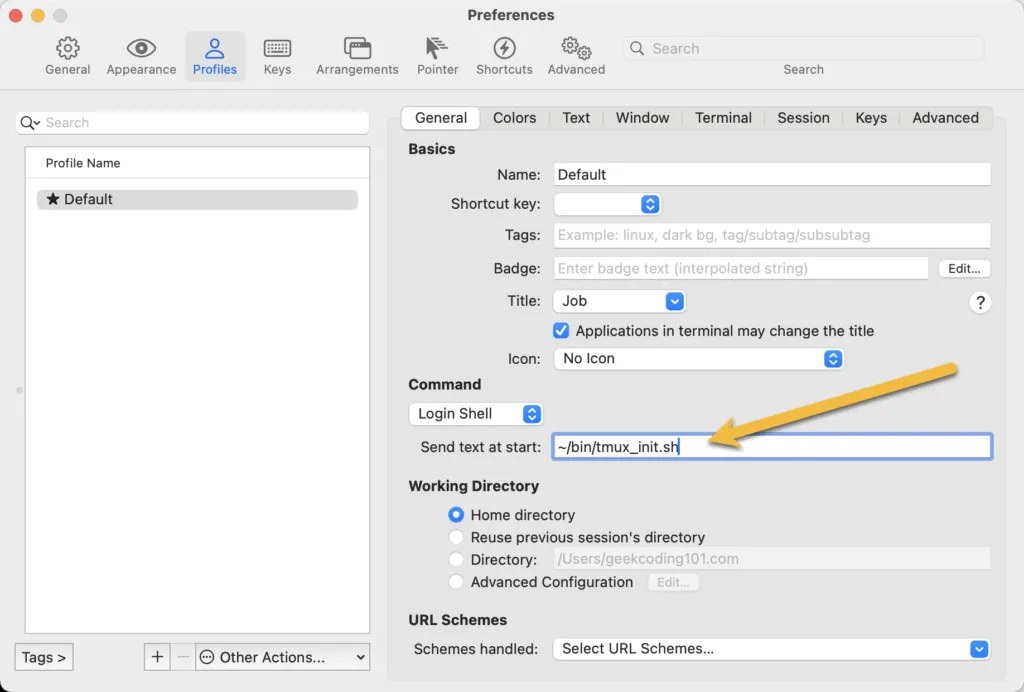
I have a script to launch Tmux when starting iTerm2, here you go:
#!/bin/zsh
tmux ls|grep kongfu | grep -q attached
if [[ $? != 0 ]] ; then  tmux attach -t kongfu  ||  tmux new-session -s kongfuelse  echo "********************************************************************************"  echo "* Ignore attaching tmux kongfu session as it has been attached already.        *"  echo "********************************************************************************"fi
Save it “~/bin/tmux_init.sh” and “chmod 755 ~/bin/tmux_init.sh”, configure it in iTerm2 default profile:
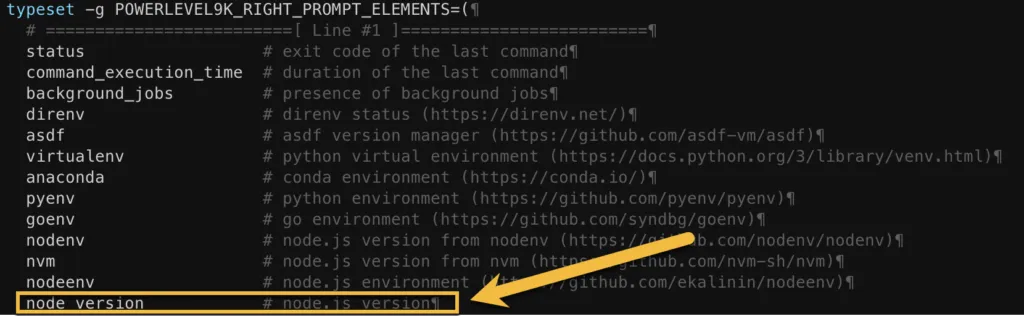
Customize P10K Status Bar for Anaconda and Node.js
I have Anaconda and Node.js environments.
I am not satisfied with the default color settings for Anaconda and node.js. It’s ugly.
Open your ~/.p10k.zsh, make below changes:


Now resource the file:
source ~/.p10k.zshShow time!
I recorded this to show you how it looks like on my environment: